- 4 mins
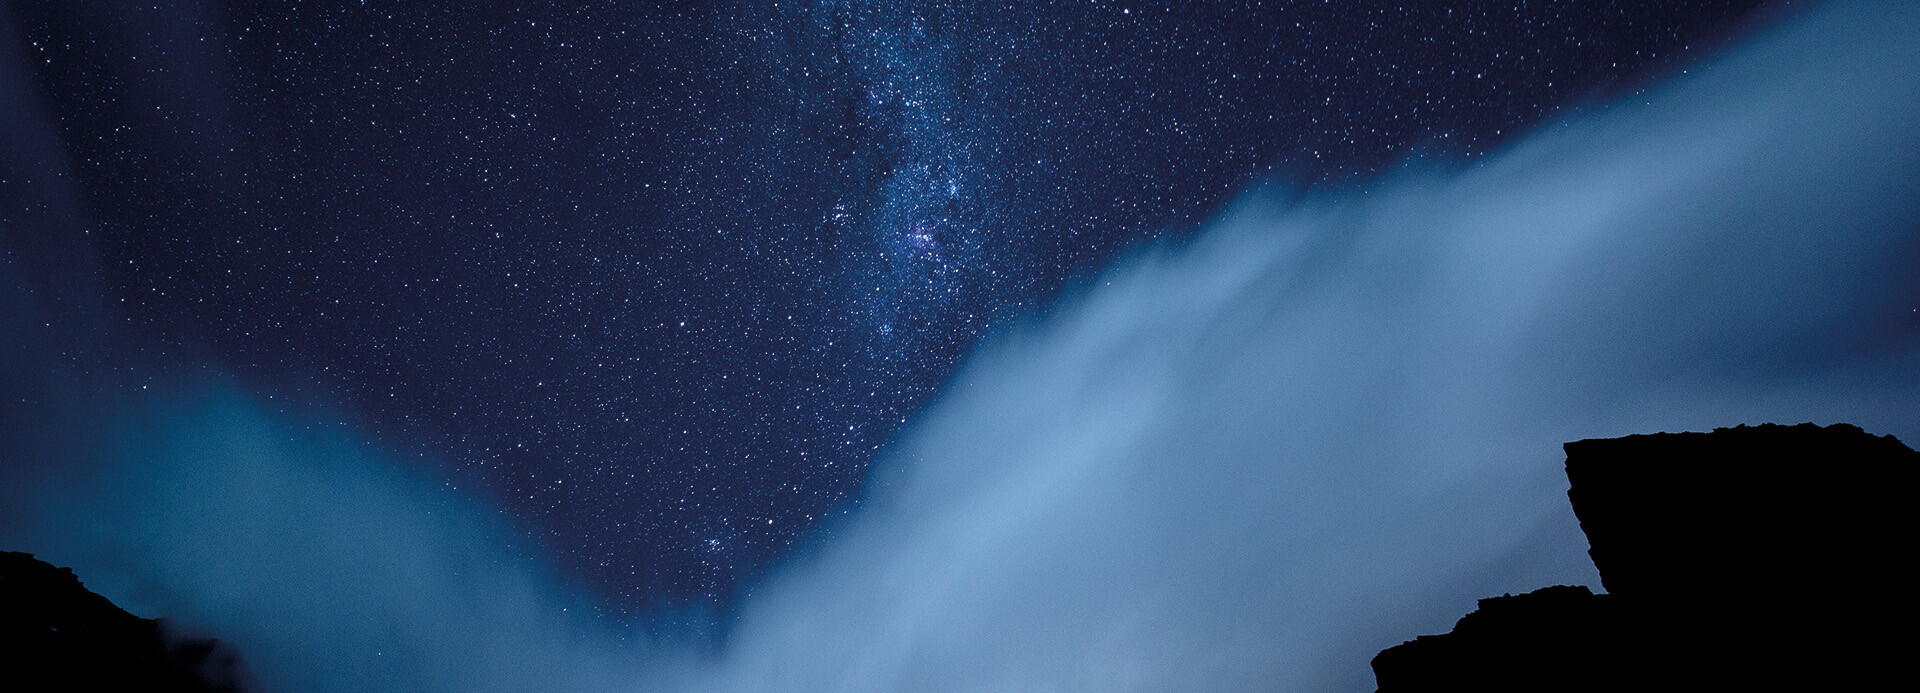
If there’s one thing you can’t forget on your list of things to pack when visiting Torres del Paine, it’s your camera. In Torres del Paine National Park, you’ll visit wonderful places that offer unique opportunities that can be immortalized with a single click. And one of the best shots you can take here is of the blanket of stars that keeps you company every night. Today, we’ll give you pro tips for taking the best night photographs of the stars in Patagonia.
What is Astrophotography?
As its name suggests, astrophotography is a discipline that combines a passion for astronomy with photography. In astrophotography, different techniques are used to get the most out of photographic and audiovisual equipment in order to capture in greater detail the different celestial bodies present in the night sky.
With the democratization of technology and inexpensive modern photography equipment, now anyone can start recording the night sky as long as certain conditions are met in terms of the equipment used, and weather and light conditions.
Why Astrophotography in Torres del Paine?
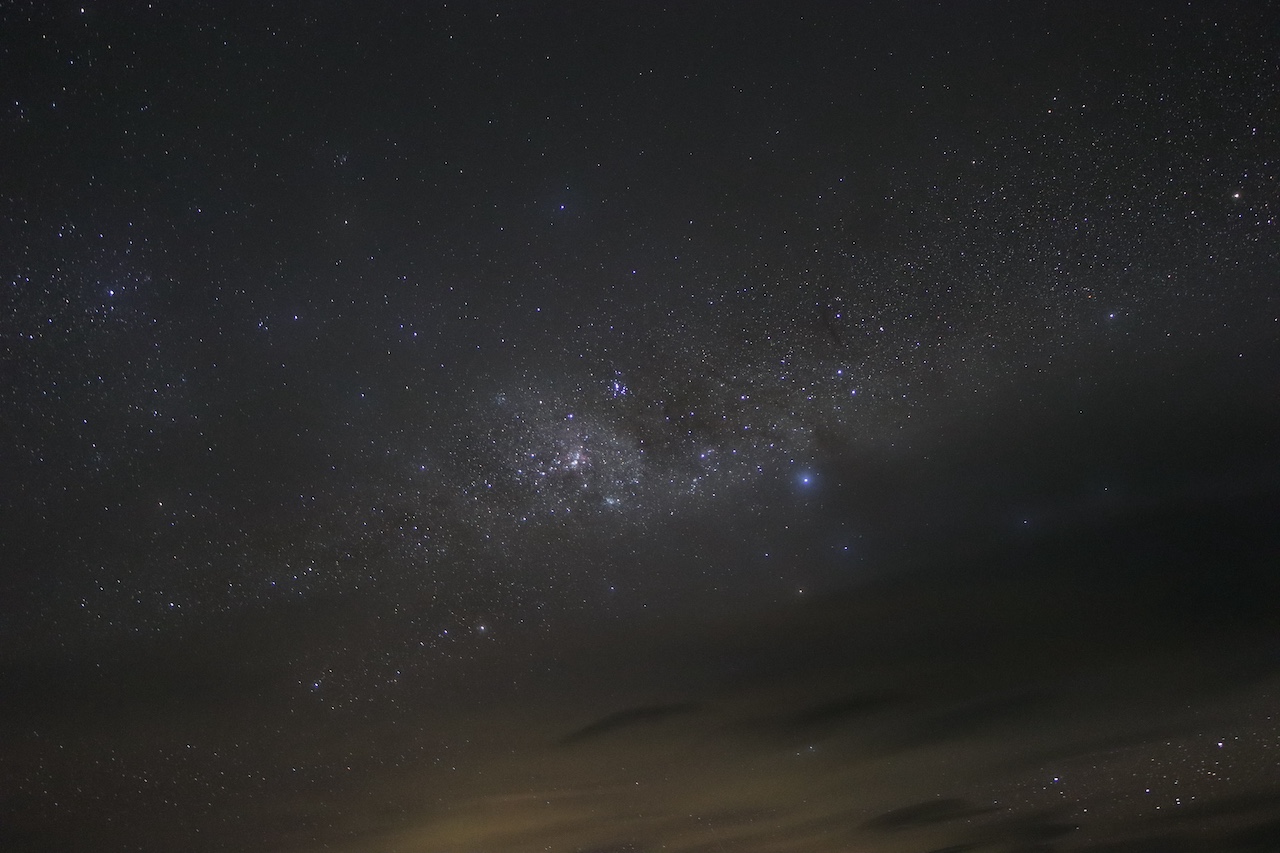
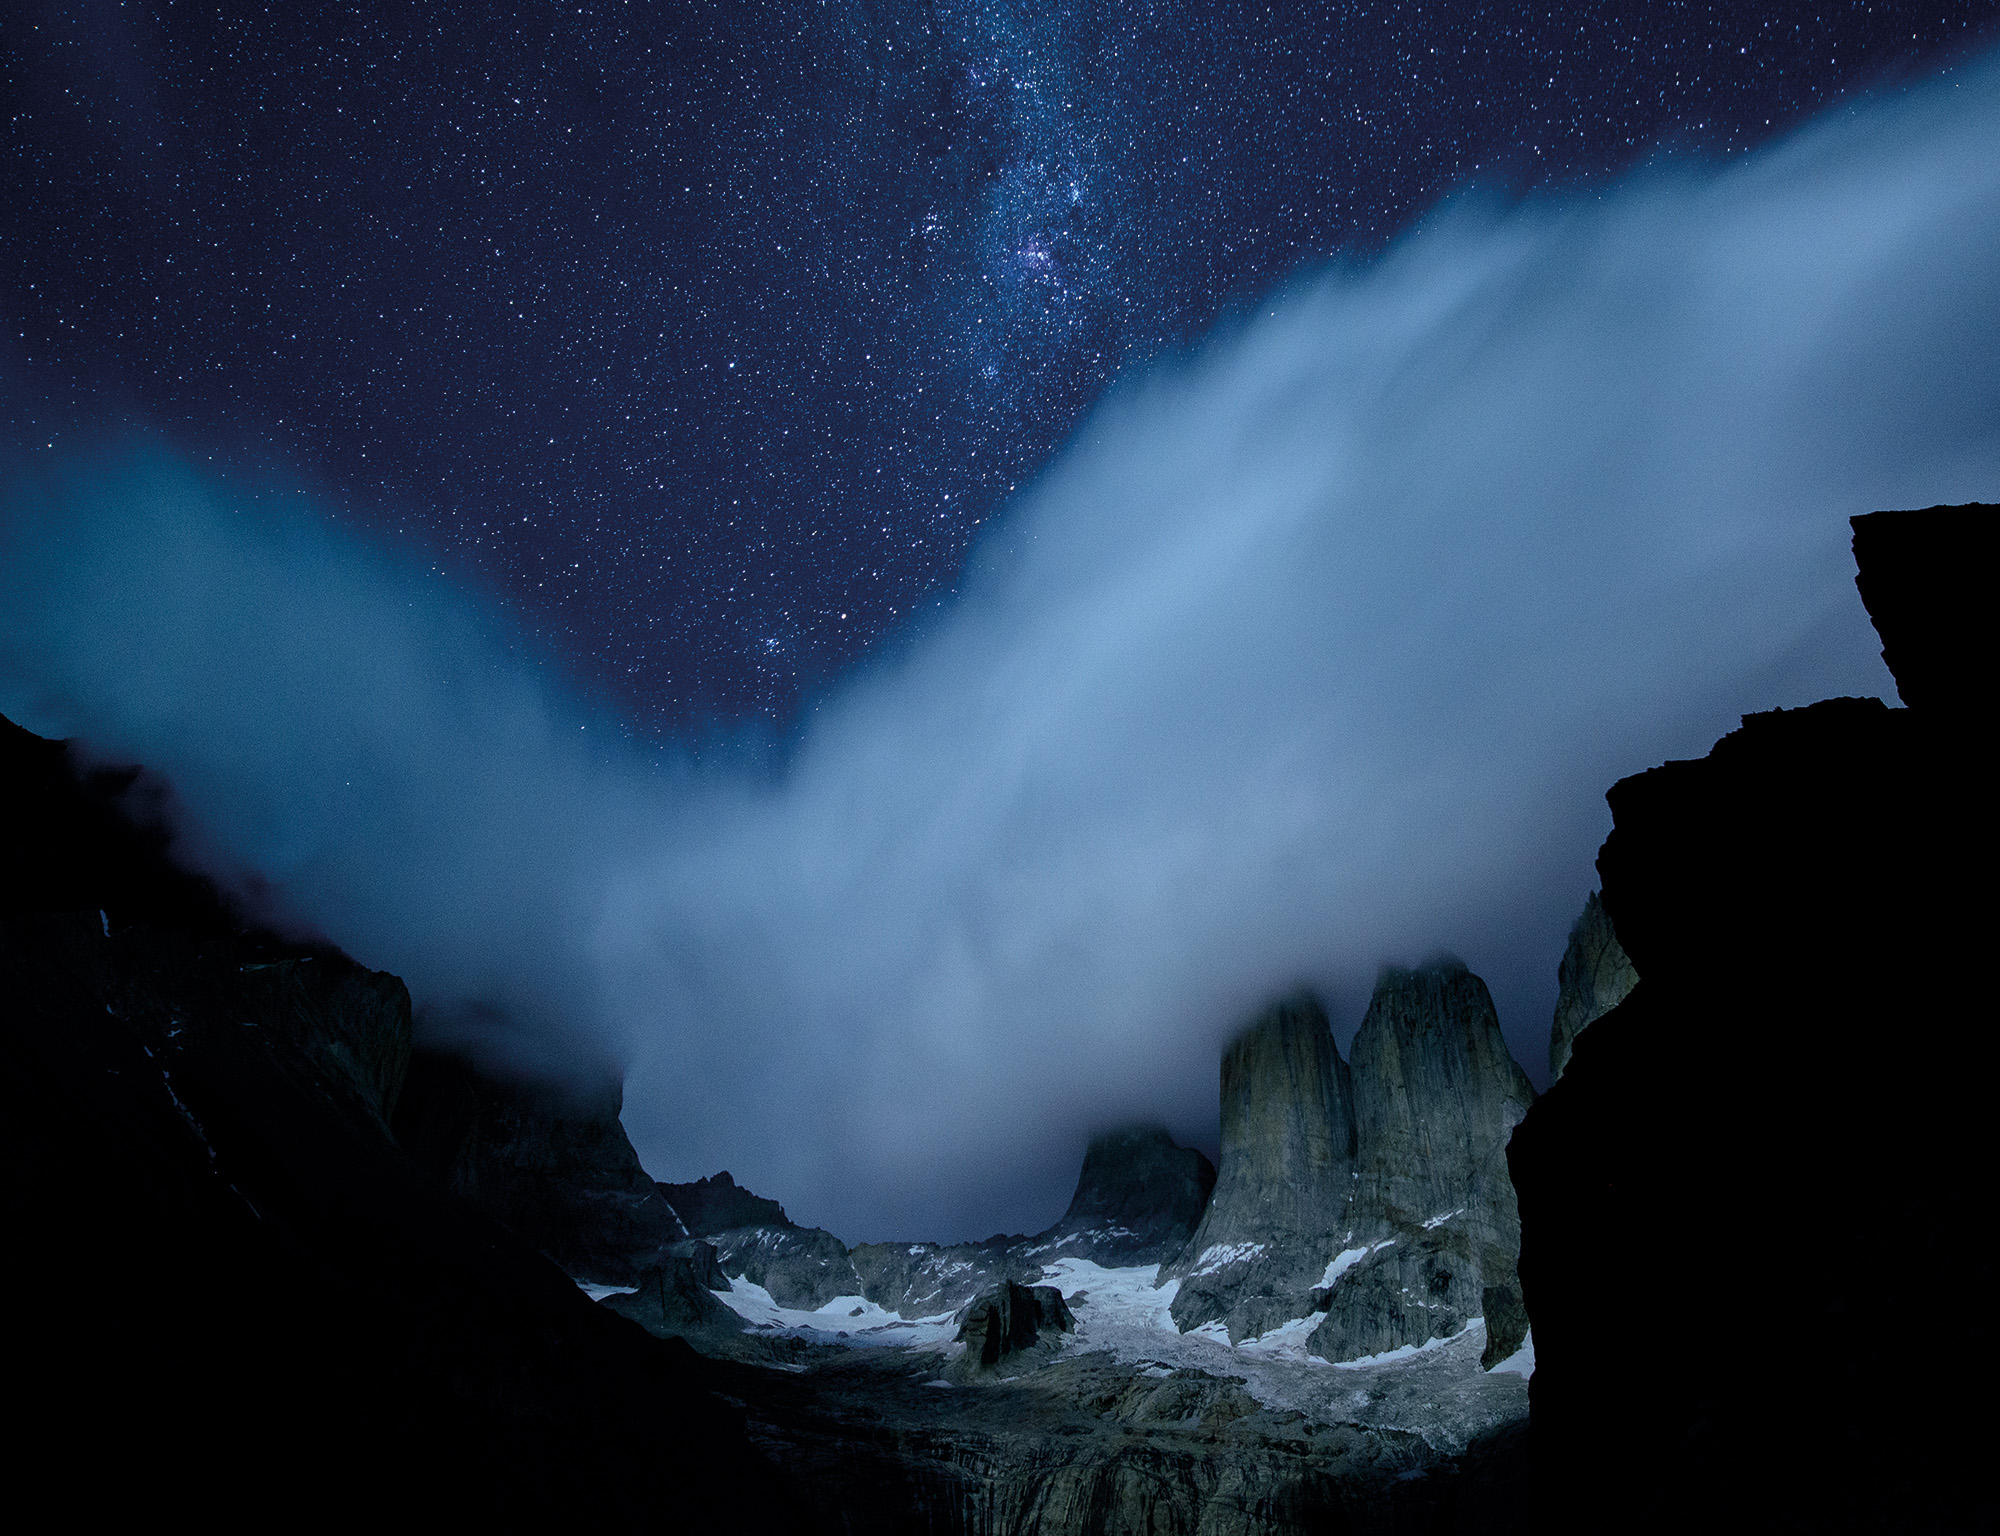
Torres del Paine National Park has several advantages that facilitate astrophotography, similar to a few other areas in Chile. To begin with, it is located far from urban centers, which allows total darkness at dusk.
To measure the efficiency of this approach, we can use the Bortle scale, which is used to categorize skies by their nighttime brightness. According to the leading astrophotography group in Chile, Torres del Paine has a class 1 sky on the Bortle dark sky scale, which is the scale’s highest standard.
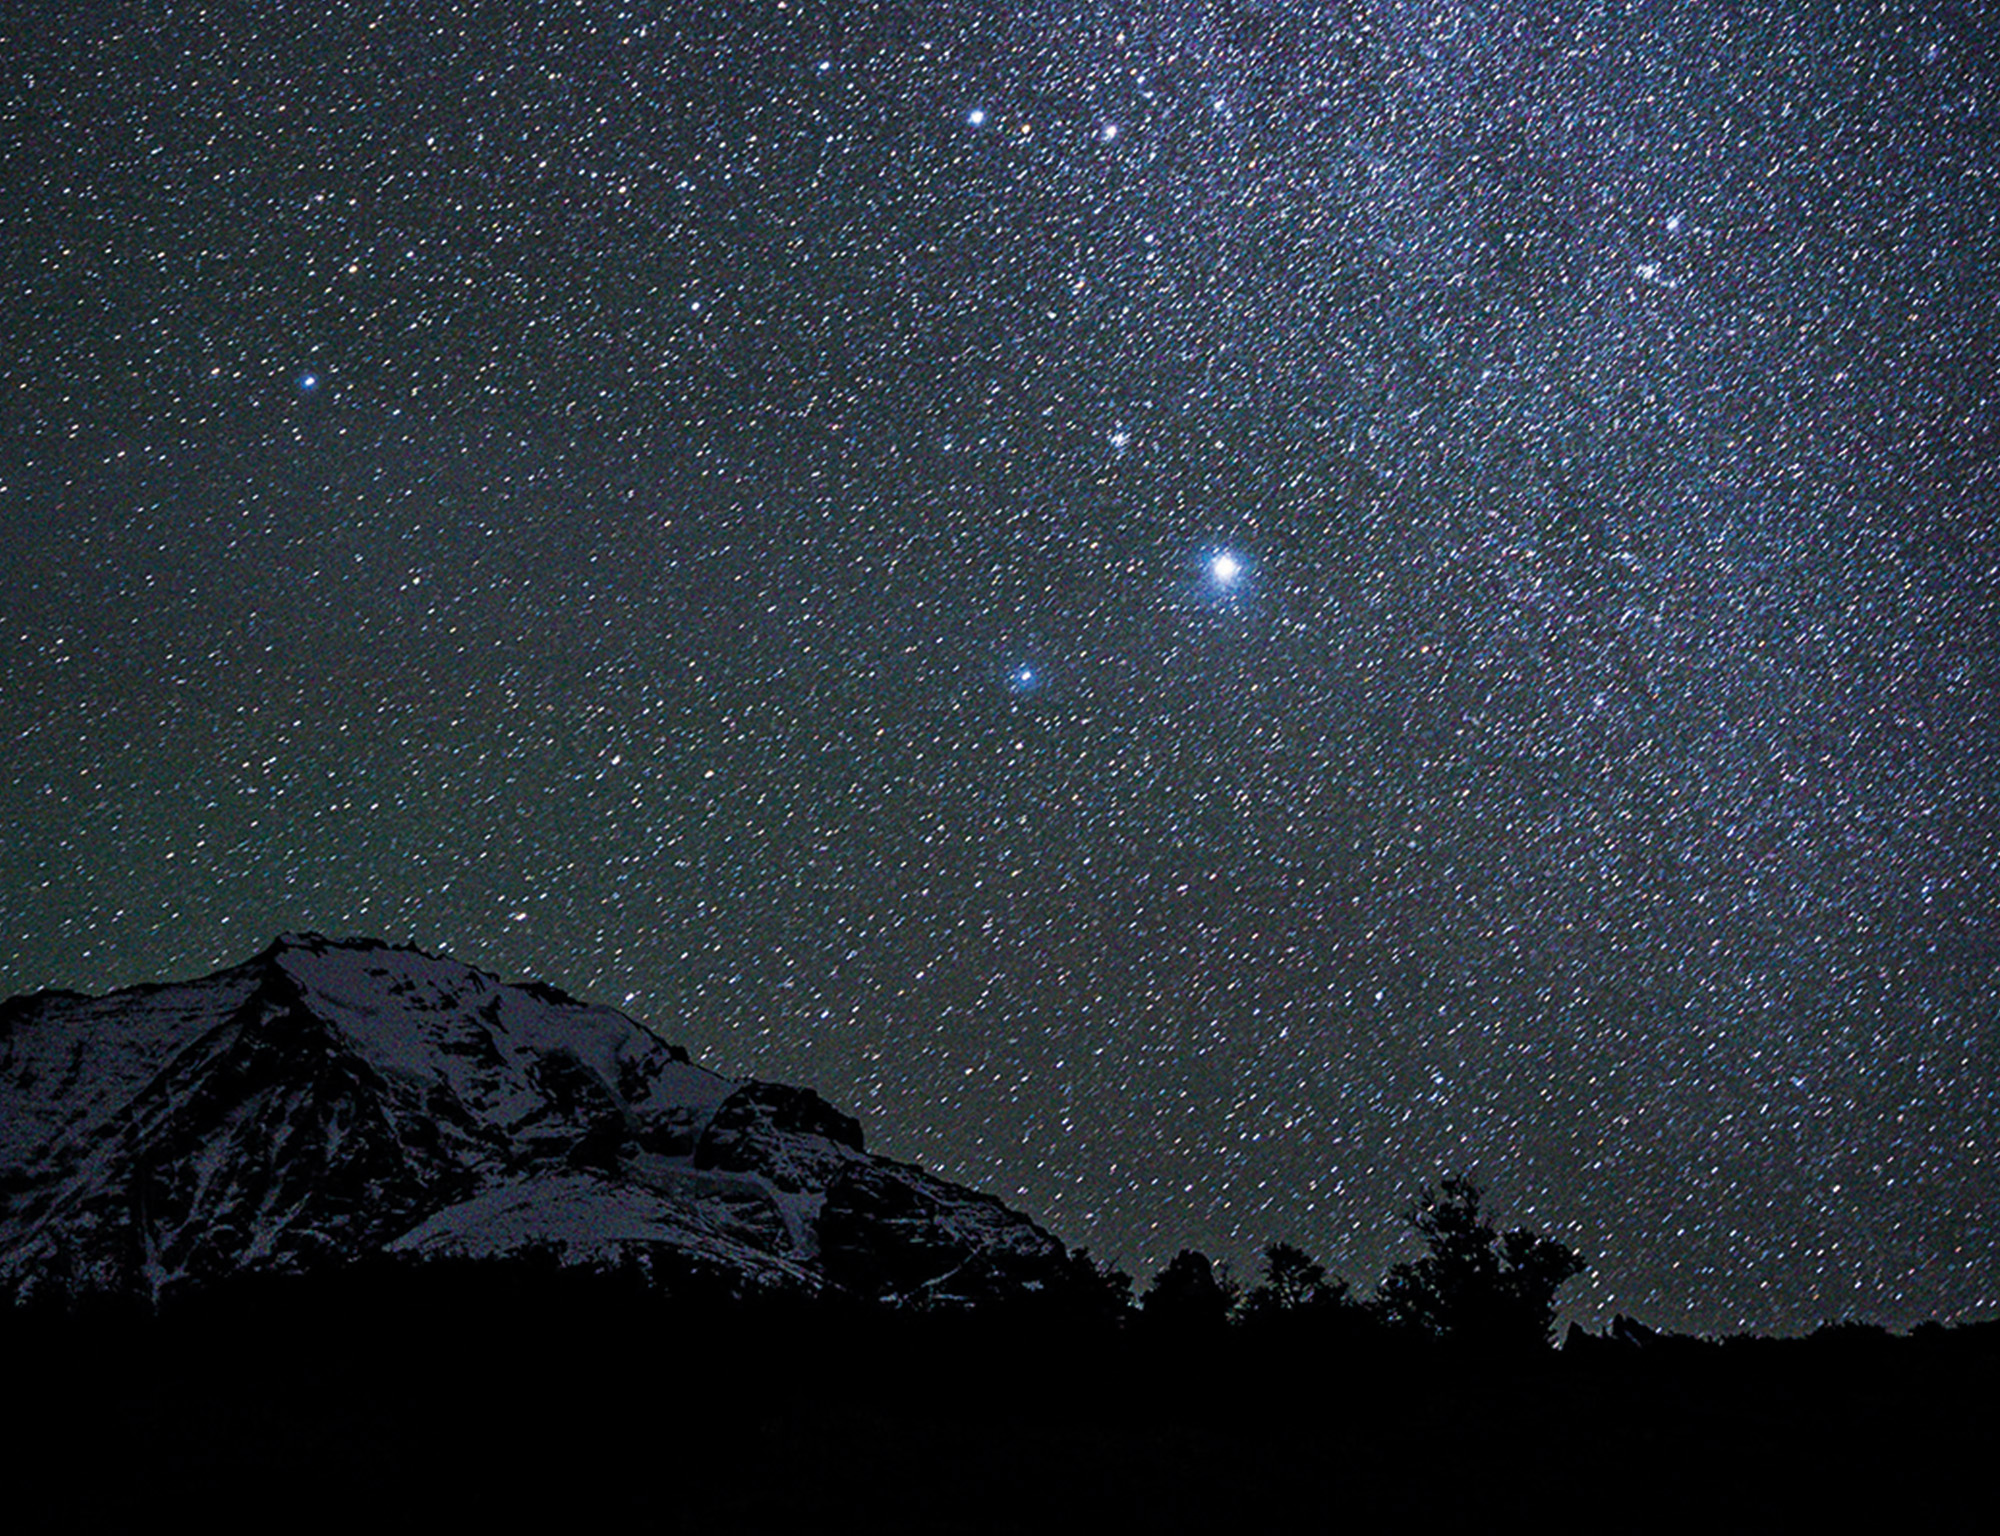
However, for astrophotography to be at its most effective in the national park, you must count on clear skies— something that can be quite unpredictable due to Patagonia’s changeable climate. So we recommend that if you are going to try astrophotography in Torres del Paine, you should try in the summer.
Precautions For Taking Pictures at Night
When you enter Torres del Paine National Park, you are entering an area where wildlife roams freely. This includes pumas, foxes, and the Geoffroy’s cat. At night, these animals may search for prey such as small birds and hares, which increases the possibility of encounters.
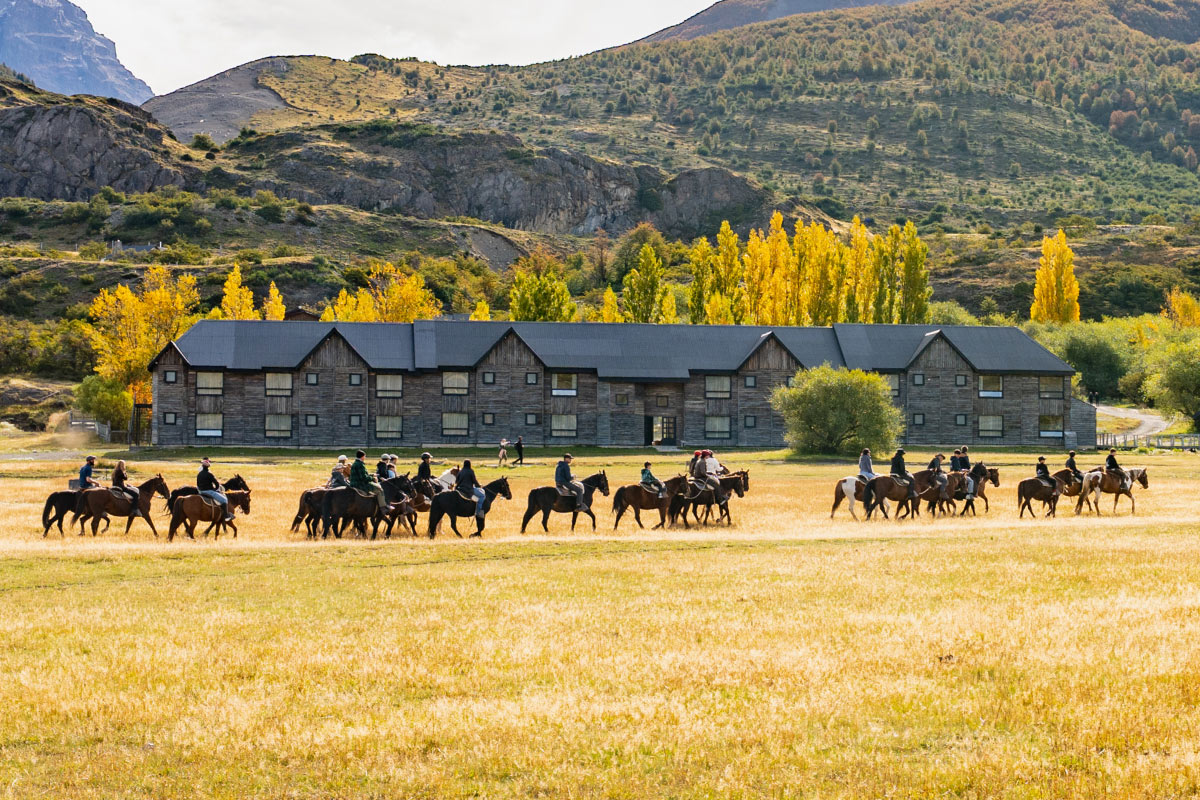
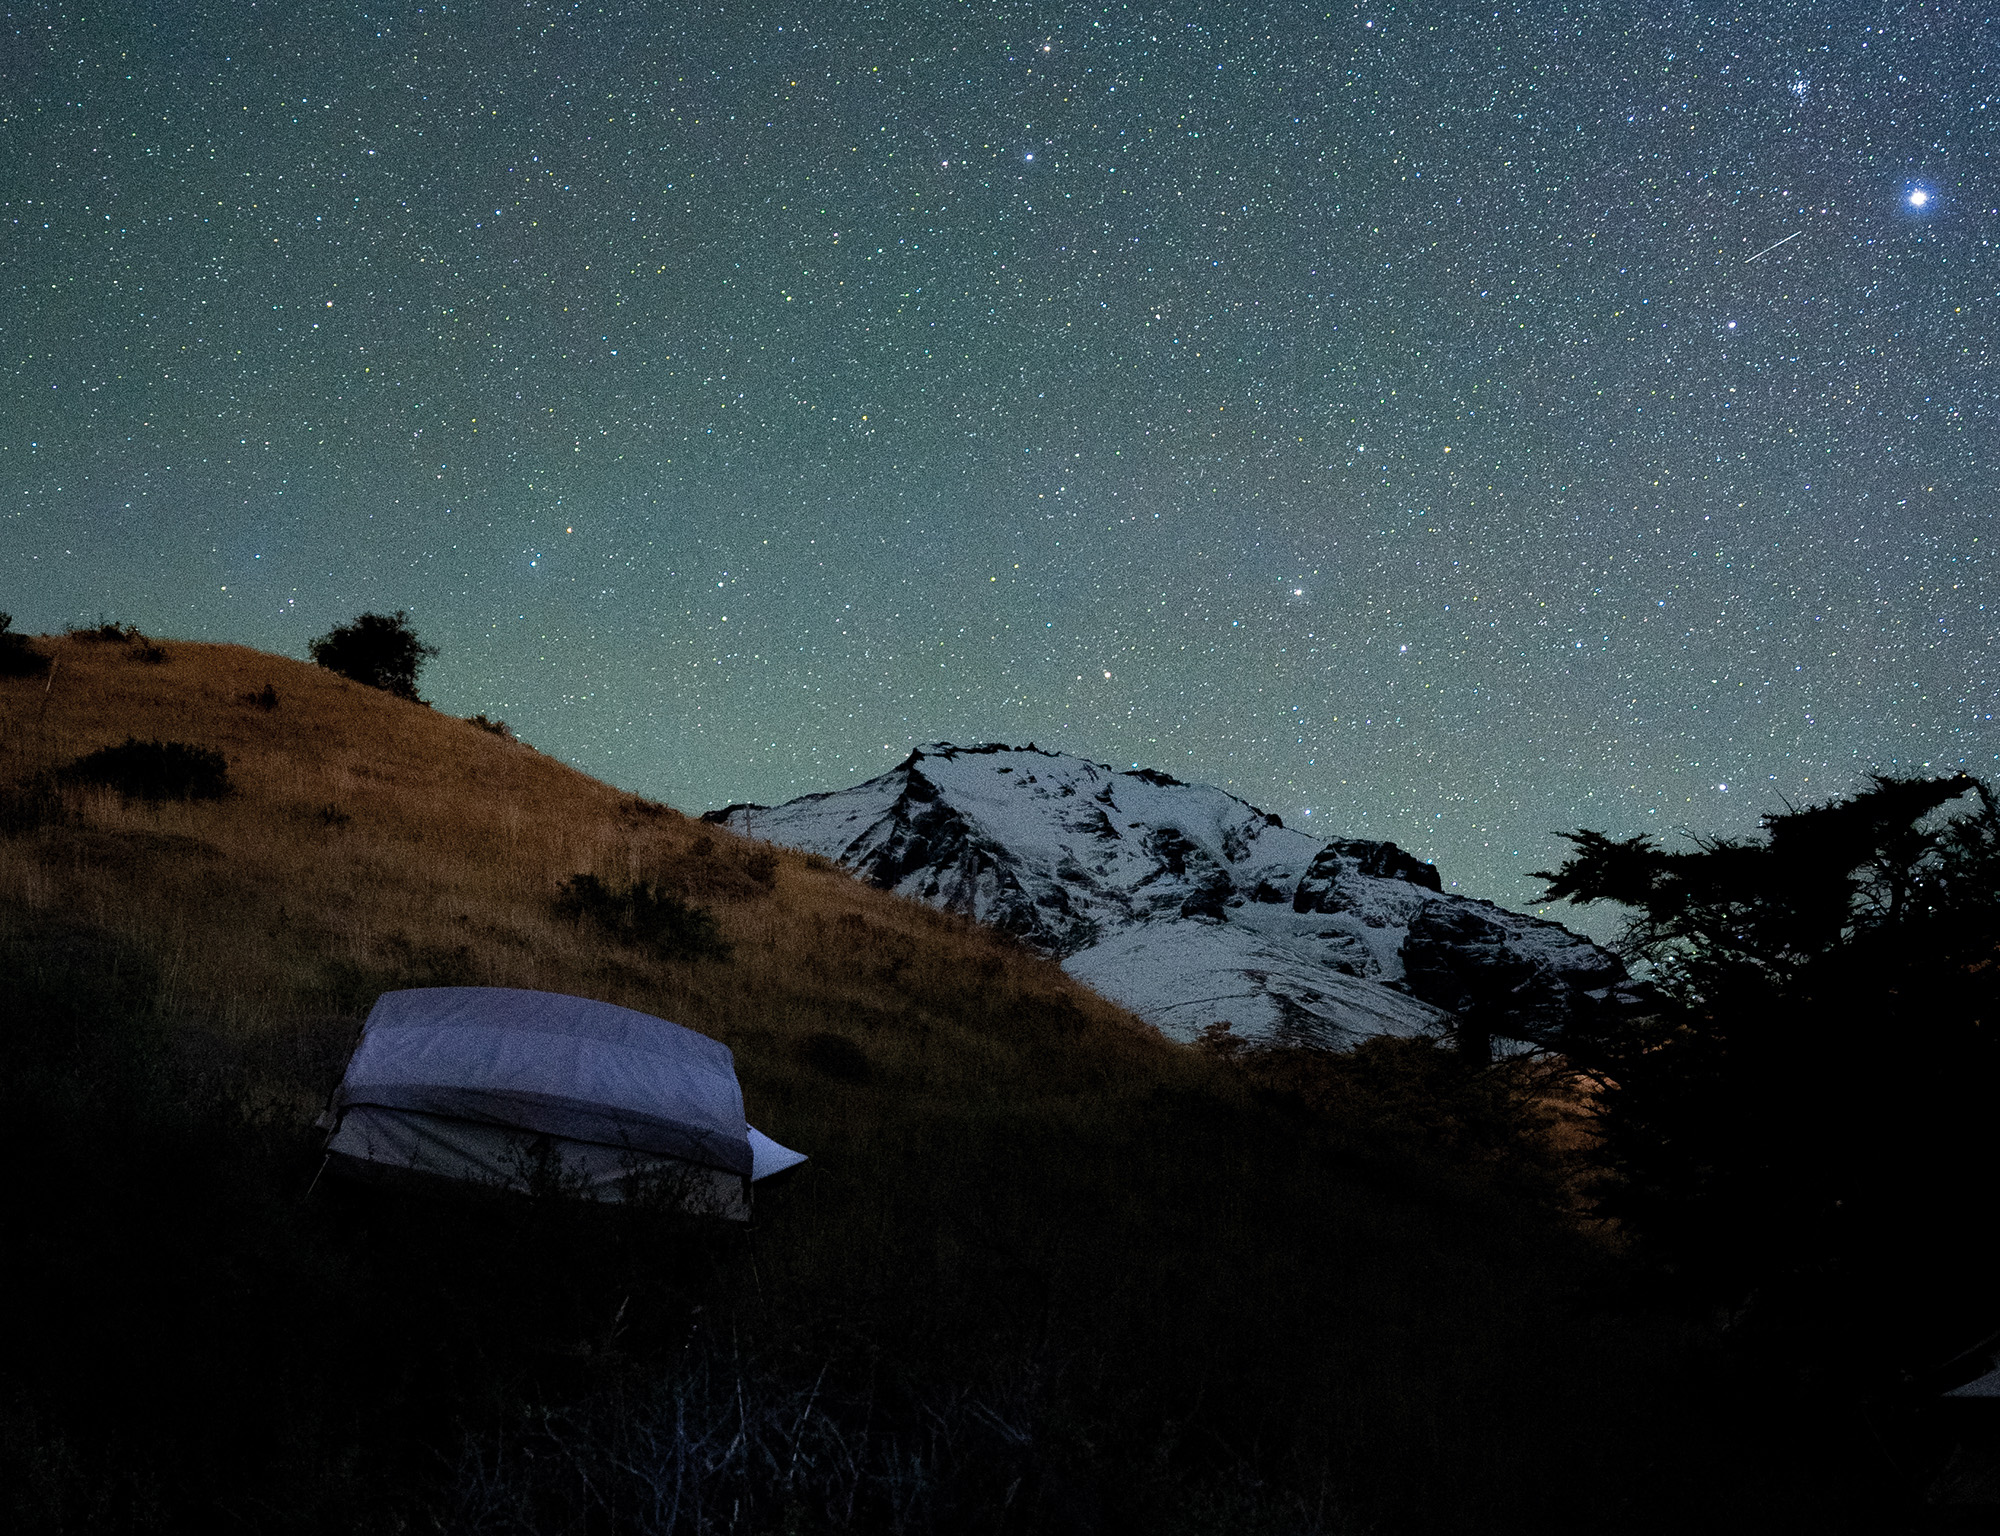
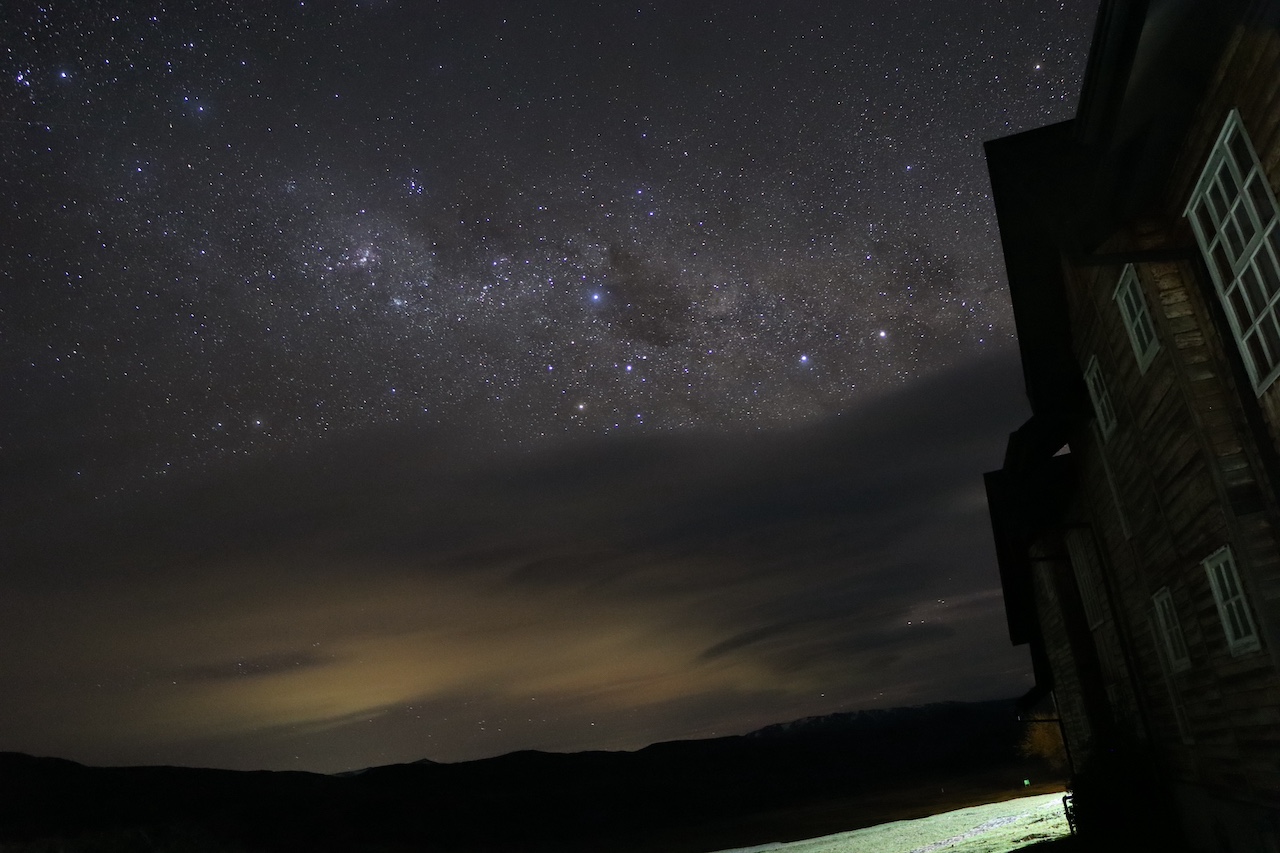
If you are staying at Hotel Las Torres, it’s recommended that you bring someone with you as you take photos at night so that they can watch as you set up your camera. Ideally, you should set up near the hotel, since the building doesn’t generate enough light to spoil your photos. If you’re staying in our mountain hostels or in the premium camping area, it’s also recommended that you don’t go too far away from the human settlements and avoid going out alone, given the wildlife that may prowl at night.
What Kind of Camera do I Need?
SLR cameras are among the most accessible options, both because their settings are easy to handle while taking pictures, and because of their versatility in producing different types of photos.
Mirrorless cameras are also a good option. As photography has advanced among amateurs, many are preferring to move from SLRs to mirrorless, the latter being more practical due to their size and lighter weight.
Another type of camera is the Full Frame CMOS sensor camera, which specializes in astrophotography and is specifically designed to capture video in low light situations.
If you want to try astrophotography with a smartphone, you have to make sure that your phone meets conditions for sensor size, aperture, megapixels, and stabilization, among other details that influence the final image quality.
How do I Take Photos of the Stars?
First of all, we recommend using a tripod and relying on the viewing screen as you capture the image that you want. The first thing you’ll do is to look carefully through the screen for a celestial object that is visible to the naked eye, and try to focus your lens on that point in the sky. Once you’ve focused, you can try different zoom levels.
Now you go to your camera’s settings in Manual mode, and start trying different settings. The first setting to try is ISO, which is the sensitivity to light. A higher ISO will give you more brightness in your images, but it will also increase graininess. For this type of photo you will want to keep the ISO sensitivity as low as possible, in addition to enhancing light sensitivity so that your sky images are as sharp and clear as possible.
Next, you’ll need to set the shutter speed, which determines how long the iris of your camera will stay open— in other words, how much light will enter your camera for a given time. Depending on the results that you want, try 5, 8, 10, or 20 seconds for the shutter speed.
Finally, the last setting to adjust is the aperture, which controls how much of your camera’s iris will open when taking a picture. Here, you want to set it to have the highest aperture possible.
With these tips, all you’ll need to enjoy night photography at the Hotel Las Torres or at our other accommodations is for the night to fall. Enjoy our excursions by day, and at night be a master of astrophotography. Book with us, and take the best photographs: